Reporting
This article is targeted at the competition administrators, coordinators and financial coordinators. This article will cover the reporting capabilities within SportsM8.
Printing within SportsM8 integrates and leverages the internet browsers print functionality. The exact functionality may vary between different internet browsers but the core functionalities are the same. Please refer to your browsers specific help documentation for clarification. The information in this guide is targeted towards Google Chrome as our recommended browser, where possible we will call out the difference to Apple Safari.
How to print reports
The following is the best practice guidance to printing our reports
- Navigate to the report you with to interact with
- From your Internet Browser (e.g. Chrome) select Print from the File menu. Alternatively press CTRL+P on Windows, or Command+P on MacOS
- Use the print dialogue to configure the printing as needed. Some options to consider are the following with more details listed below:
- Print color shading and other formatting
- Scale / shrink the content to fit in the page requirements
- Change the page size appropriate to your needs (A4 vs A3)
- Export to PDF
Print color shading and other formatting
Many of our reports use color shading to highlight certain aspects, such as the Fixture Grid Report which color shads the divisions, or Availability vs Appointments report that uses color shading to indicate non-availability etc.
By default your internet browser may not be configured to print the color shading.
To configure your browser to include the color shading you will need to perform the following steps:
- Navigate to the report you wish to print
- Configure any in app filters or options as need (e.g. selecting the day, fields to include in the report, etc)
- From your Internet Browser (e.g. Chrome) select Print from the File menu. Alternatively press CTRL+P on Windows, or Command+P on MacOS.
- The print dialogue will open and allow you to configure the print options.
- To allow the color shading to show in the printing you need to enable the following setting:
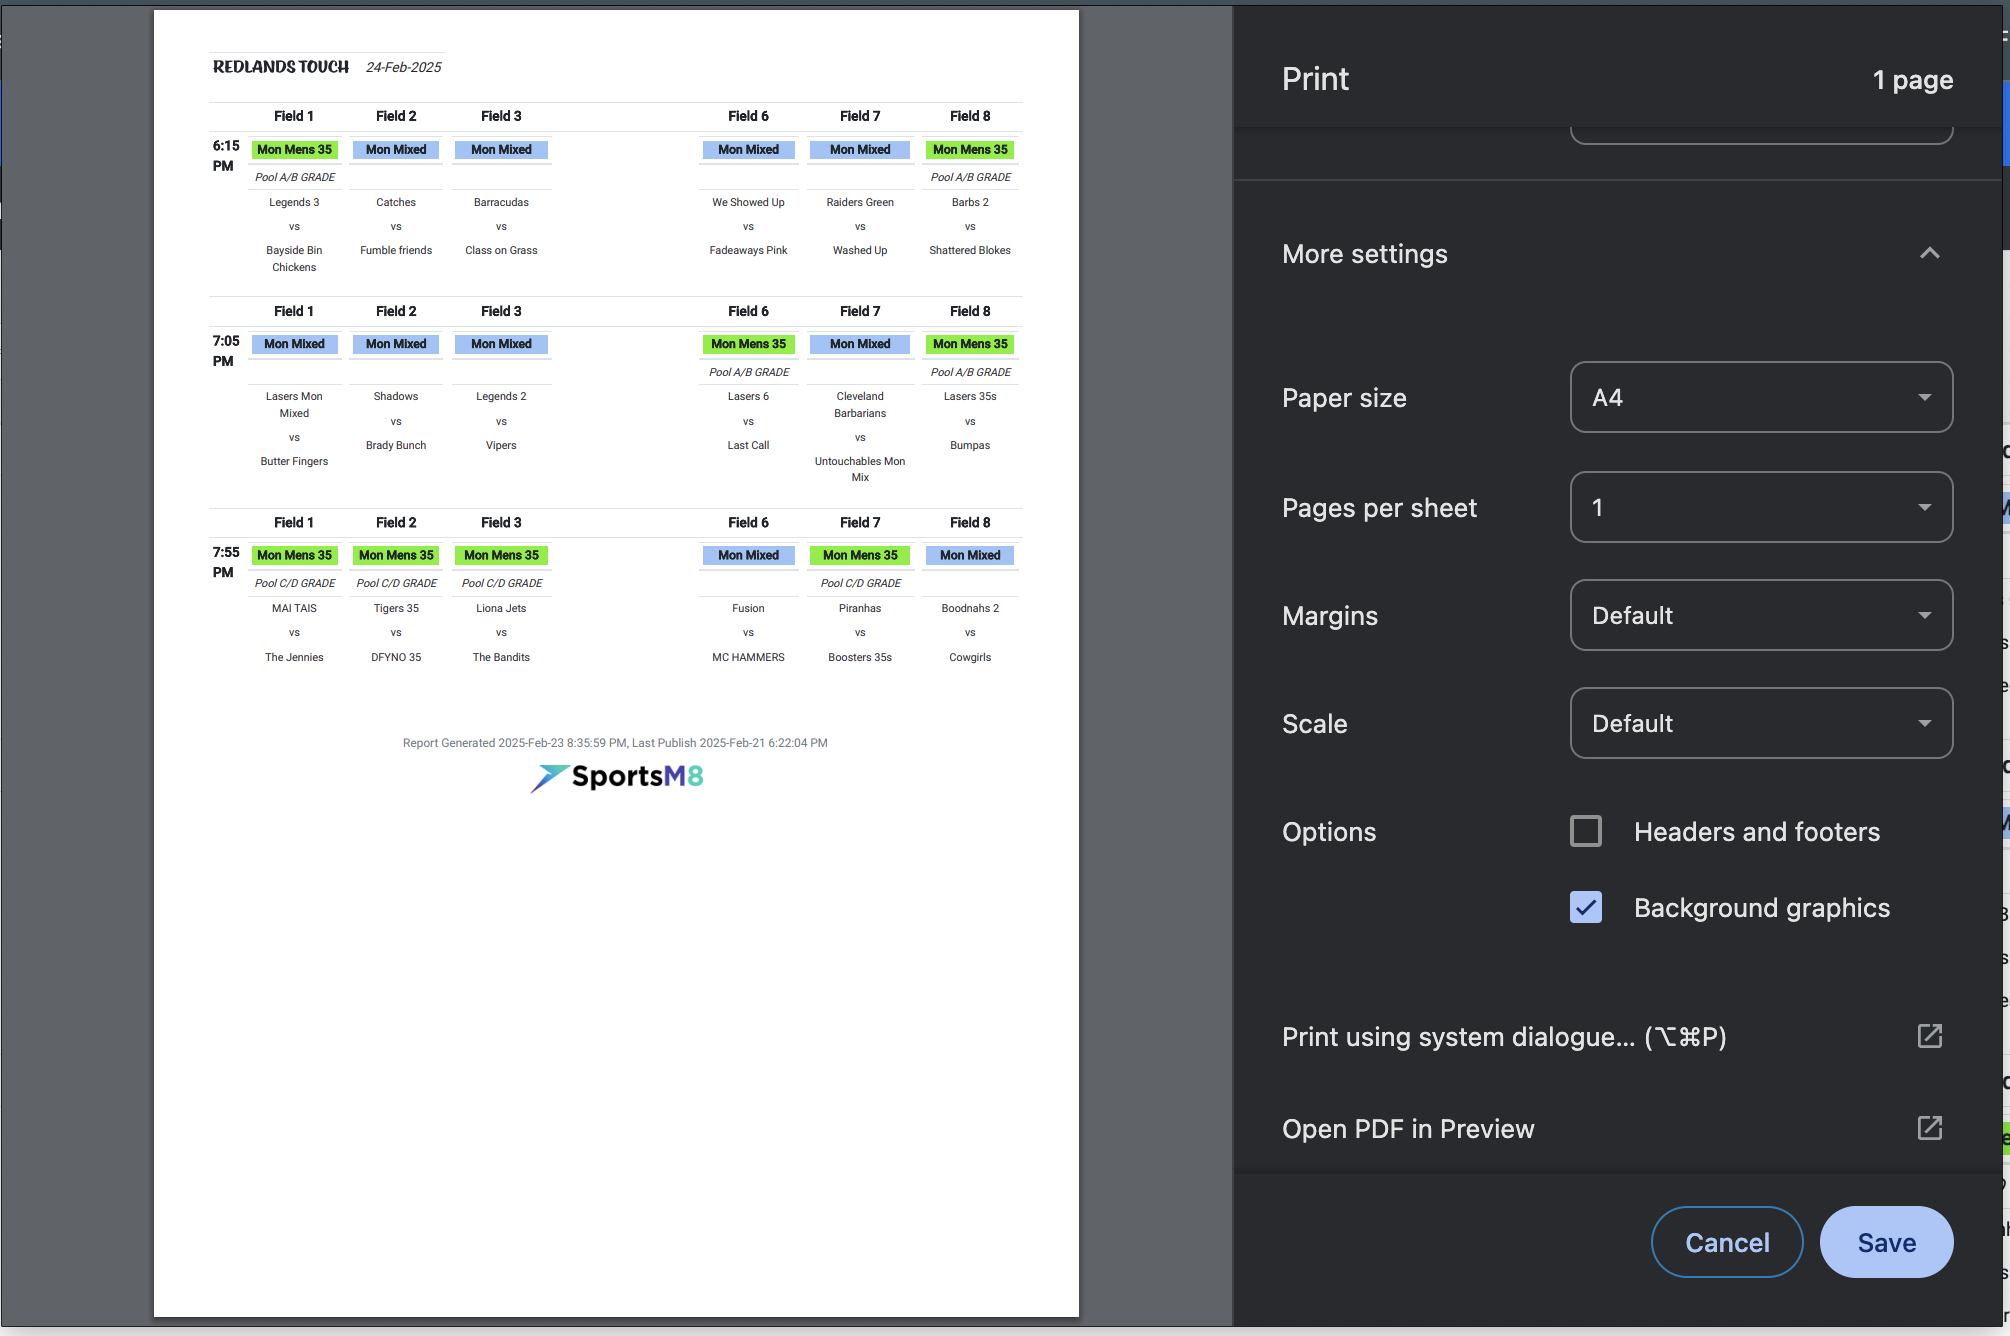
- Expand “More Settings” and ensure that “Background Graphics” is selected. As soon as you change this setting the preview should show you the improvement.
The following image shows when the option is turned off.

The following image demonstrates with the include “Background Graphics” on.
Scale / shrink the content to fit in the page requirements
If the day’s match schedule or fixture grid has a high number of fields or time slots it can be useful to use the scaling or shrink settings to ensure that the content is reduced in size to an appropriate size that fits within an appropriate page size and number.
To control the scale settings follow these steps:
- Opening the print dialog (either File menu Print, or Command+P)
- Expand the “More Settings” section
- Under scale change it from “Default” to “Customized”, or ensure it is set to “Customized”.
- Adust the percentage of scale the fit to page to meet the printing needs across the paper size and page number.
Change the page size appropriate to your needs (A4 vs A3)
If the day’s match schedule or fixture grid has a high number of fields or time slots it can be useful to use a larger page size. Obviously the physical limitation of the printer you have access too will pay a part. In today’s digital age with sharing PDF or other digital versions of print outs we can definitely leverage the page size to help provide the information to our participants.
When printing select the appropriate page size, but also remember to tweak the scale/shrink/fit settings as needed after changing the page size.
Your goal here should be to achieve maximum usage of the page and in the case of multiple pages an appropriate usage of each page and minimizing the number of total pages.
Printing/Saving to PDF
One of the best features that modern browsers provide is the native ability to export directly to PDF. This has many benefits and usage scenarios. The method for exporting to PDF varies based on your operating system (OS) and browser.
Windows
- Opening the print dialog (either File menu Print, or CTRL+P)
- Select the “Print to PDF” printer from the drop down and configure the settings as needed
Chrome on MacOS
- Opening the print dialog (either File menu Print, or Command+P)
- Change the printer selection to “Safe to PDF”
- Configure the print options you need, such as paper size, scale, background graphics
- Click “Save”
Fixture Grid Report
The fixture grid report provides the following use cases:
- Printing the nightly appointments for paper based records/display
- Filter capabilities to customize the display on the report
- Default filter options